

Even beautiful photos can move their owners to make a cinematic transformation of such treasures into videos to save their memories, share them on social platforms, or use them in professional work. CapCut Desktop will allow you to revamp your dull photos to conceive magnificent motion tales with the integration of effects, cuts, sound, and movement. The video editing software is user-friendly even for the novice and has powerful tools that can compete with recording studios.
In this tutorial, we will cover the key advantages of working with CapCut, choose the five easy steps to creating cinematic videos out of photos, and provide some additional guidance to make everything work out the way you want it to be.
Why Choose CapCut for Cinematic Videos?
CapCut is an all-in-one visual storytelling suite, rather than a simple standard editor. As compared to the apps that merely provide transitions or plain slideshows, CapCut enables you to insert professional-like zooms, motion blur, overlays, and sound design. Its drag-and-drop workflow makes the editing process easy to understand, but there is more depth to powerful creativity.
Now you can use CapCut to provide your photos with the cinematic treatment they need, whether it be creating a family video montage, an Instagram reel, or even a smart presentation.
Benefits of Using CapCut for Cinematic Photo Videos
Streamlined workflow – You do not have to abandon one app to use another, as all transition, audio, and effects tools are integrated into it.
Professional results – Render your videos to high resolution as well as with smooth transitions, just as they would appear using professional editing tools.
Creative freedom – Use text overlays, action presets, and even the voice change tool to tell or perform your photo stories.
Accessibility – its simple structure allows novices to start composing in a short amount of time, but more options can satisfy experienced writers.
Thumbnail design – The online photo editing features are available to make your video eye-catching to your viewers on YouTube or TikTok.
Introducing the Five Steps to Cinematic Video Creation
Making a cinematic video with CapCut Desktop does not have to take hours on how to edit. Applying these five simple rules, you can make still-shot videos look and feel lively and evoking.
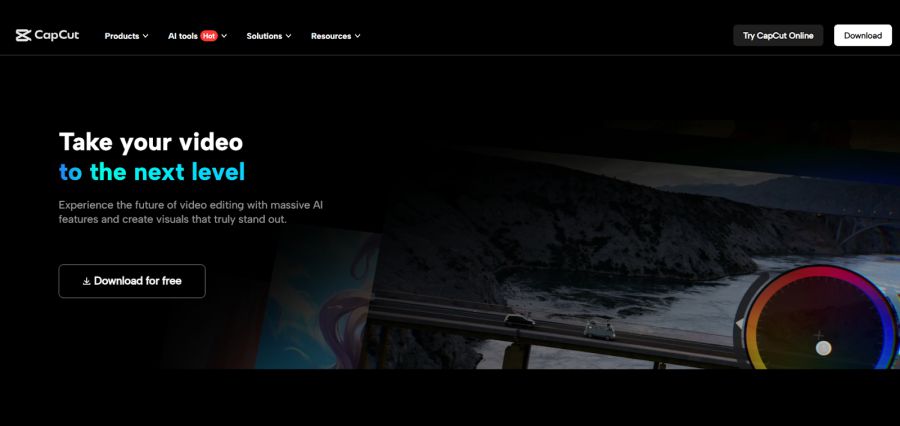
Step 1: Import and Arrange Your Photos
Download CapCut Desktop and press New Project. Drag your chosen photos into the timeline in order to wish. Rearrange them to portray the story you wish to convey-whether on a timeline or theme-wise.

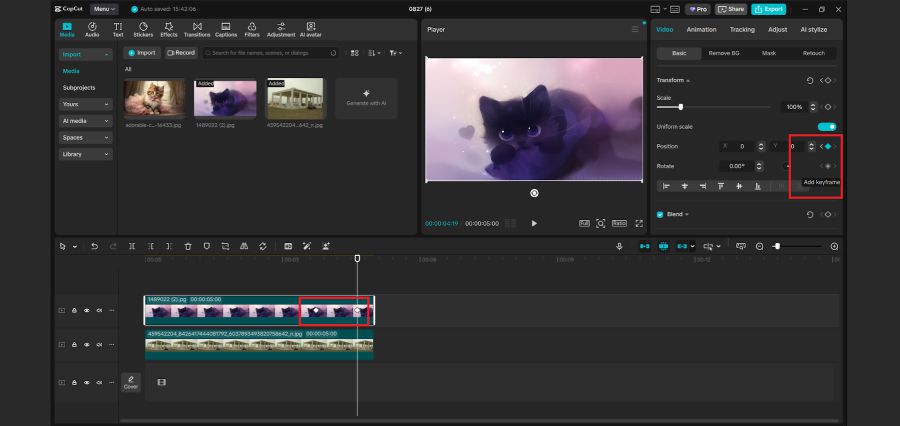
Step 2: Add Motion with Keyframes and Effects
Add motion animations to still images. Select an image, then use keyframes to rotate, pan, or create a zoom-in/zoom-out effect. These minor movements make your photos dynamic storytelling objects.
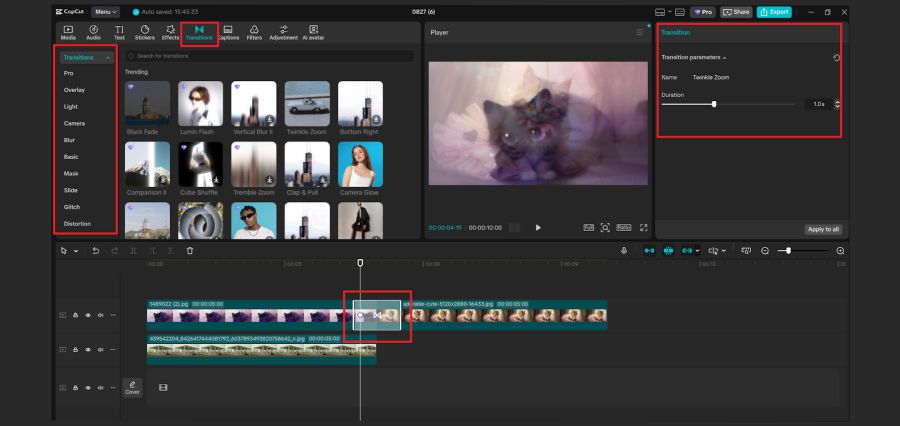
Step 3: Enhance Transitions Between Images
Add transitions between photos to make a Cinematic work by using the Transitions tab of CapCut. This makes the video look more like a coherent one and not just a slideshow.
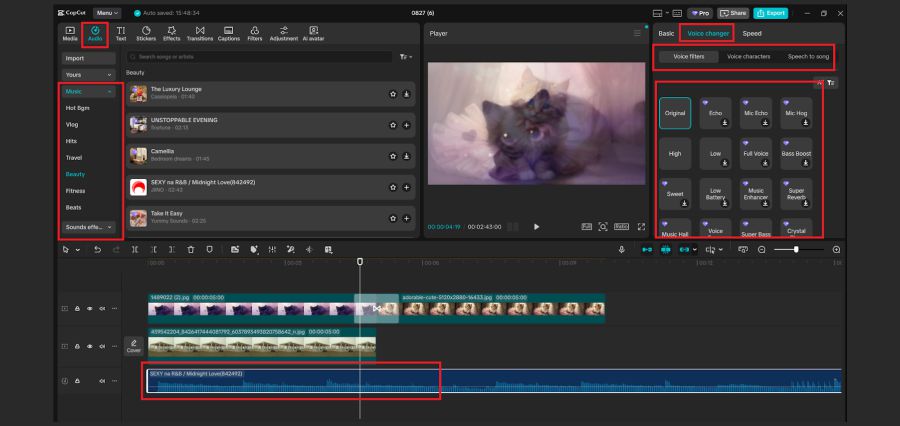
Step 4: Add Music, Narration, or Voice Effects
Open the Audio tab and add some background/ complementary music to the video. Should you need narration, you can record in the editor or use the CapCut voice changer tool to add funny or dramatic voices. The integration of audio with visuals is a major boost to cinematic experience.
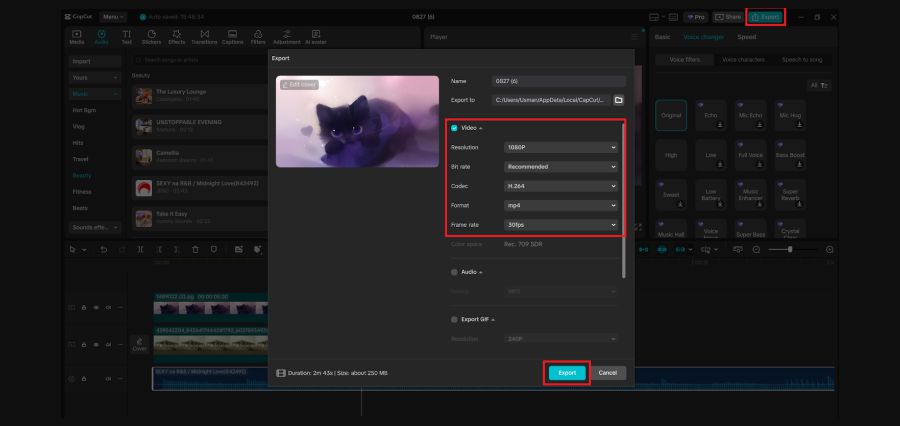
Step 5: Final Adjustments and Export
Give your video steroids by adjusting brightness and contrast or applying LUT filters to get a movie effect. After you are pleased with the finished product, click export, select your resolution, possibly 1080p or 4K for the finest results, and save it.
Additional Tips for Stunning Cinematic Videos
- Apply a color grading technique to make your images sound like film.
- If, as may be the case, the context requires it or an effect is required, add text or animated titles.
- Remember about pacing- the shorter the photos are, the more energy they produce, and the longer the more emotion.
- Keep a careful check on your video by previewing it several times to ensure the video and audio don’t conflict with each other.
Why CapCut Stands Out?
CapCut is a creative hub, not simple video editing software, where the first and foremost priority is always simplicity and ease of use, along with the professional-grade power in your hands. Even in smooth transitions between cinema to online photo editing capabilities, it makes your developed content shine on all platforms. CapCut is in the sweet spot of being easy to use and innovative, so creators can transform basic images into shareable stories.
Conclusion
Making static photos cinematic videos is not always complex. CapCut Desktop is the latest in a complete editing suite that makes editing simple yet powerful. Whether through the introduction of smooth transitions and cinematic effects or further exaggerating the visuals via filters, soundtrack, and overlays, the software can enable you to make a movie-like feel out of your photographs.
Personal montages? Brand campaigns? Content on social media? CapCut will allow you to transform ordinary images into something extraordinary. Equipped with an AI Voice Generator, Text-to-Speech AI, and an online photo editor, it is more than a simple video editing software and can bring your creative vision to life by creating cinematic stories with its powerful technology within reach.
Read Also: Hospitality Businesses Creating Guest Experiences That Run Smoothly